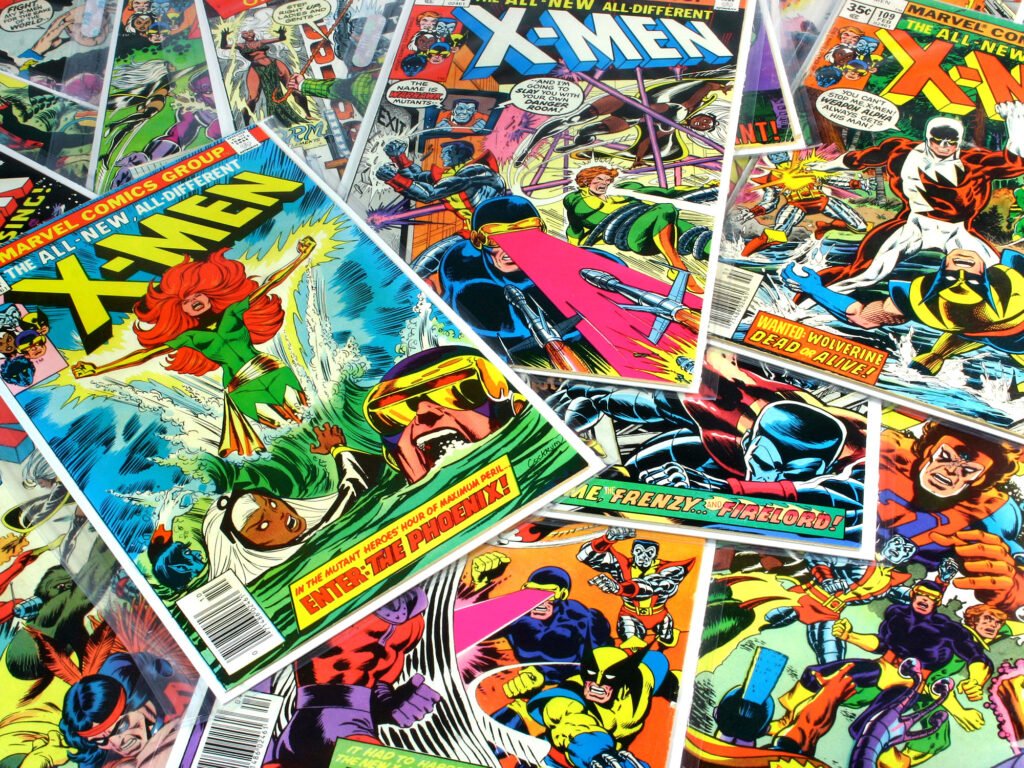
Printing any comic book is an exhilarating, self-driven project: it brings your creative input into life. No matter if you are an up-and-coming comic artist, or a hobbyist who wants to place their work into the international market, this guide has gone through the process, from front to back. By the end of this, you will be well on your way to print your own comic book and distributing it to readers. Let’s get started!
Step 1— Print Your Own Comic Book
Before printing your own comic book, you must have a really good plan. First of all, you should define your story, characters, and style of art. Sketch out the storyline roughly and decide on how many pages it is going to be.
Personal Tip: I remember rather vividly the first time I had a sketch in a comic book. I used an ordinary notebook in order to get my ideas down and do simple drawings of what I wanted it to look like. This helped me stay in course with my story and create some kind of visual mind map.
After you’ve got a general idea, create a storyboard; it’s going to be, basically, your blueprint for what goes on each page, so this helps you collect your thoughts together and keep you on the same line.
Step 2: Visualize the artwork
With your plan in place, it is now time to create the artwork. It involves these steps:
Sketch: Start with your pencil sketches. Also, composition and arrangement are important.
Inking: Finally, once you are satisfied, outline your drawing in ink. This makes your art bold and clear.
Coloring: Finally, color your inked drawings. It can be old-fashioned via markers or similar media, or you may find it helpful to use digital means (Photos.
Lettering: Add speech inside the panel using speech marks. Check that this is legible when words are fitted in within the speech set in a comic panel.
Personal tip: On my first comic book, I worked out some gross mix of traditional inking and digital coloring. It provided me with some flexibility in choices and basic control over the finished look.
Step 3: Files Finalized for Printing
Once your work is ready, you have to get your files ready for platemaking because even if your comic books are designed perfectly, this step is pivotal to getting a professional look.
Scan or Digitize: If you work on paper, scan or photograph your work in high resolution–at least 300 dpi. If you work digitally, make sure your files are in CMYK color mode.
You can format pages, put them in the right order, and put them down in PDF or TIFF formats that will match your printer requirements and take them one at a time.
Check for Errors: Check through your files for errors, such as typos or problems with the images. It’s great to print a test copy to see how everything will look on a page.
Personal Tip My most important typo was in the dialogue for my comic book. It wasn’t found until after printing a test copy. Never assume it’s okay; make sure to double-check your work.
Step 4: Print Technique Options
There are many ways to get stuff onto paper:
Digital press is used in your short runs or in self-publishing, giving way to flexibility and cost that can very easily be realized. When you need quicker turnarounds and smaller quantities, digital printing is the best.
Offset Printing: Offset printing is best for large quantities, ensuring high quality, and is cost-effective for runs of an appreciable number of items.
Personal Tip: On my first comic book, I had it digitally printed because I was doing a very small print run. It was a lot more reasonably priced and allowed a lot more flexibility in changing things on-the-fly.
Step 5: Selecting the Right Paper and Binding
This is what will bring forth the look and feel of your comic book: the right paper and binding.
Paper: Pick paper that shows off your comic’s best look. Glossy paper does great stuff in color while matte makes it feel a little bit more classic. There’s an option to use heavy paper for the outside cover and lighter versions for the inside if you want.
Binding: Can be done by saddle stitching (staples), perfect binding (glue), or spiral binding. Due to the cost efficiency of saddle stitching, there is an increased tendency to use it in comic book production, so as to enable page alignment.
Personal Tip: Saddle-stitching my comic book with glossy paper was the better choice. It made the colors pop, and the saddle-stitching kept everything neat.
Make sure to find a printer
Now that you have everything set, time to find a printer. Look for businesses with a specialization in comic book printing or have custom options available. Check for prices through comparisons and then take a look at the reviews, or best if you ask for their samples.
Personal Advice: I sought out several printers for samples of their capability to ensure quality that would meet the standard of my project before going ahead. It was indeed a job well done in improving and considering my work.
Step 7: Proof Print
Print a test copy of the comic book one time before you print the whole run. This enables you to review the final piece and make any fine modifications it may require.
Personal Tip: I used a proof copy to save myself from some of the problems described above. In fact, I did notice one color that was incorrect, so I had to fix that before I printed the rest.
Step 8: Lock In the Final Print Run
This kind of certainty is developed when you are already evidenced that it will certainly look as you wish. At that point, you can print full throttle with no reservation. Thereafter, reconfirm the quantity as well as other details with your choose printer.
Pro Tip: Double-check all details before finalizing. Laf-moment changes are capable of influencing quality or delaying delivery times in your comic.
Step 9: Publish Your Comic Book
With your comic book all printed, now the fun can begin as you get into the hands of readers. There are a few different paths to take in getting readers your book:
Contact some local stores to find out if they are interested in stocking your comic book. E-Sales — Electronic merchants, e-commerce, or e-commerce and e-tailors, or sites such.
Events: Sell your work at comic cons or other local events.
Personal Tip: I first sold my comic book at local events. It was a great chance to meet readers and ask for reactions.
Step 10: Publish Your Comic Book
Promotion is important for reaching a wider audience. Utilize social media, create a website, or collaborate with an influencer.
My tip is personally that the way I built up a social presence and the action I soon got from it helped me create a lot of hype on my comic book. Do not underestimate the power of mouth publicity, combined with online marketing techniques.
Conclusion
Therefore, But print your own comic book is a much more inner soothing exercise, whereby you not only execute your creativity your way but reveal it to others as well. As you work your way through the following steps and plan, create art, prep files, choose print processes, and market your baby, you’ll be miles ahead in the game of professional-quality comic production. Don’t forget that all the journey of print your own comic book will be as important as the very product. Have fun doing what you do—write CAPITALS on every notice it gives you—and celebrate. Happy printing!


